Attention: Here be dragons
This is the latest
(unstable) version of this documentation, which may document features
not available in or compatible with released stable versions of Godot.
Checking the stable version of the documentation...
Advanced Import Settings
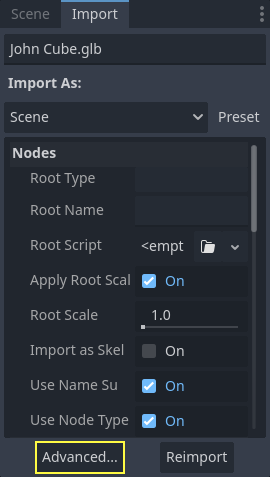
While the regular import panel provides many essential options for imported 3D models, the advanced import settings provides per object options, model previews, and animation previews. To open it select the button at the bottom of the import dock.
This is available for 3D models imported as scenes, as well as animation libraries.
Note
This page does not go over options also available in the import dock, or anything outside of the advanced import settings. For information on those please read the Import configuration page.
Using the Advanced Import Settings dialog
The first tab you'll see is the Scene tab. The options available in the panel on the right are identical to the Import dock, but you have access to a 3D preview. The 3D preview can be rotated by holding down the left mouse button then dragging the mouse. Zoom can be adjusted using the mouse wheel.
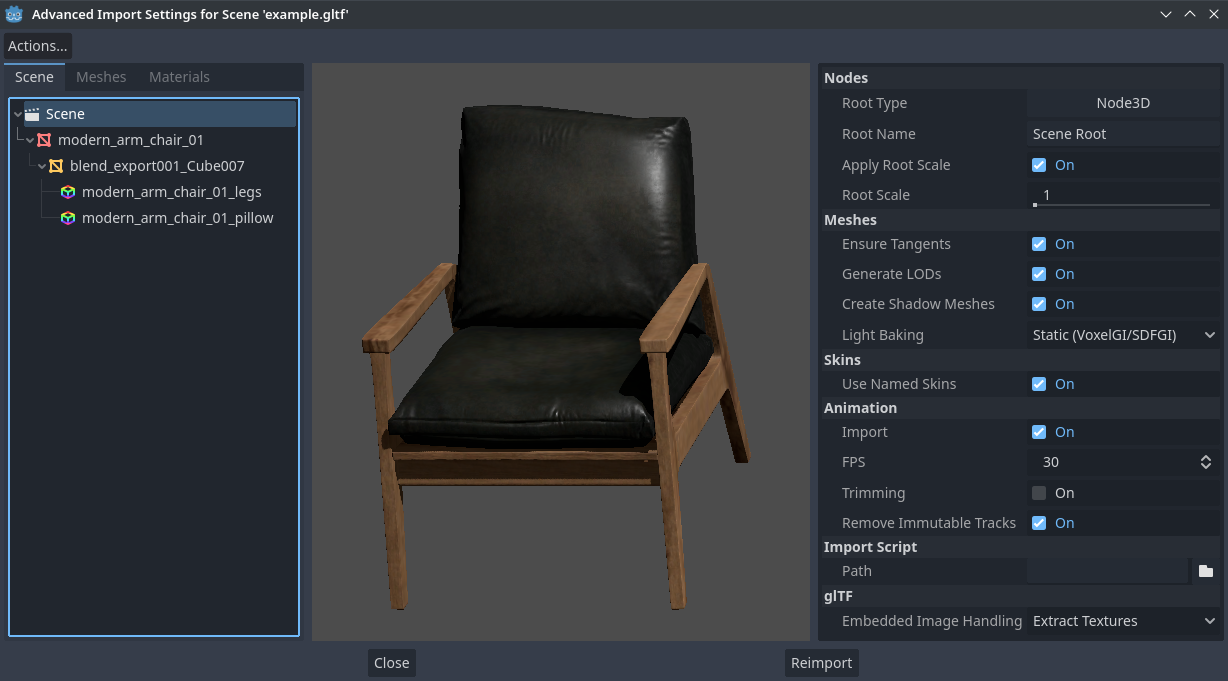
Advanced Import Settings dialog (Scene tab). Credit: Modern Arm Chair 01 - Poly Haven
Configuring node import options
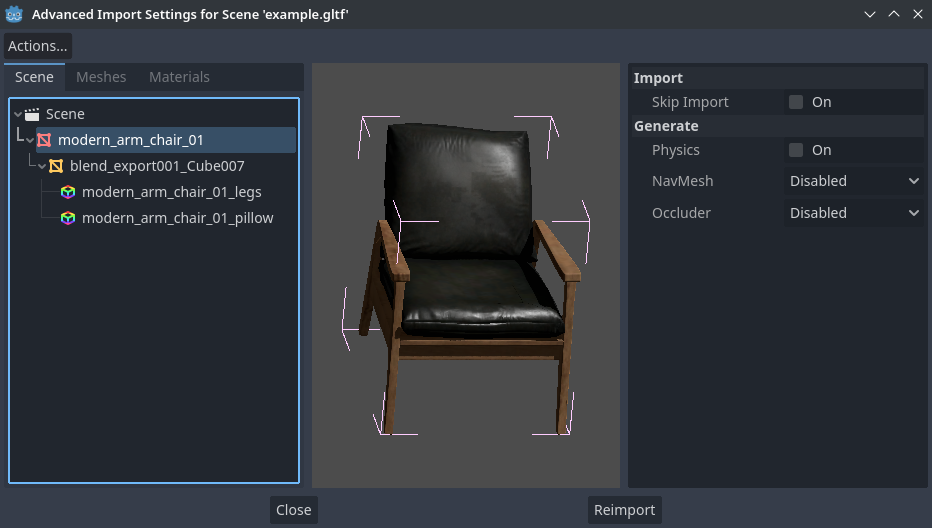
You can select individual nodes that compose the scene while in the Scene tab using the tree view at the left:
Selecting a node in the Advanced Import Settings dialog (Materials tab)
This exposes several per-node import options:
Skip Import: If checked, the node will not be present in the final imported scene. Enabling this disables all other options.
Generate > Physics: If checked, generates a PhysicsBody3D parent node with collision shapes that are siblings to the MeshInstance3D node.
Generate > NavMesh: If checked, generates a NavigationRegion3D child node for navigation. Mesh + NavMesh will keep the original mesh visible, while NavMesh Only will only import the navigation mesh (without a visual representation). NavMesh Only is meant to be used when you've manually authored a simplified mesh for navigation.
Generate > Occluder: If checked, generates an OccluderInstance3D sibling node for occlusion culling using the mesh's geometry as a basis for the occluder's shape. Mesh + Occluder will keep the original mesh visible, while Occluder Only will only import the occluder (without a visual representation). Occluder Only is meant to be used when you've manually authored a simplified mesh for occlusion culling.
These options are only visible if some of the above options are enabled:
Physics > Body Type: Only visible if Generate > Physics is enabled. Controls the PhysicsBody3D that should be created. Static creates a StaticBody3D, Dynamic creates a RigidBody3D, Area creates an Area3D.
Physics > Shape Type: Only visible if Generate > Physics is enabled. Trimesh allows for precise per-triangle collision, but it can only be used with a Static body type. Other types are less precise and may require manual configuration, but can be used with any body type. For static level geometry, use Trimesh. For dynamic geometry, use primitive shapes if possible for better performance, or use one of the convex decomposition modes if the shape is large and complex.
Decomposition > Advanced: Only visible if Physics > Shape Type is Decompose Convex. If checked, allows adjusting advanced decomposition options. If disabled, only a preset Precision can be adjusted (which is usually sufficient).
Decomposition > Precision: Only visible if Physics > Shape Type is Decompose Convex. Controls the precision to use for convex decomposition. Higher values result in more detailed collision, at the cost of slower generation and increased CPU usage during physics simulation. To improve performance, it's recommended to keep this value as low as possible for your use cases.
Occluder > Simplification Distance: Only visible if Generate > Occluder is set to Mesh + Occluder or Occluder Only. Higher values result in an occluder mesh with fewer vertices (resulting in decreased CPU utilization), at the cost of more occlusion culling issues (such as false positives or false negatives). If you run into objects disappearing when they shouldn't when the camera is near a certain mesh, try decreasing this value.
Configuring mesh and material import options
In the Advanced Import Settings dialog, there are 2 ways to select individual meshes or materials:
Switch to the Meshes or Materials tab in the top-left corner of the dialog.
Stay in the Scene tab, but unfold the options on the tree view on the left. After choosing a mesh or material, this presents the same information as the Meshes and Materials tabs, but in a tree view instead of a list.
If you select a mesh, different options will appear in the panel on the right:
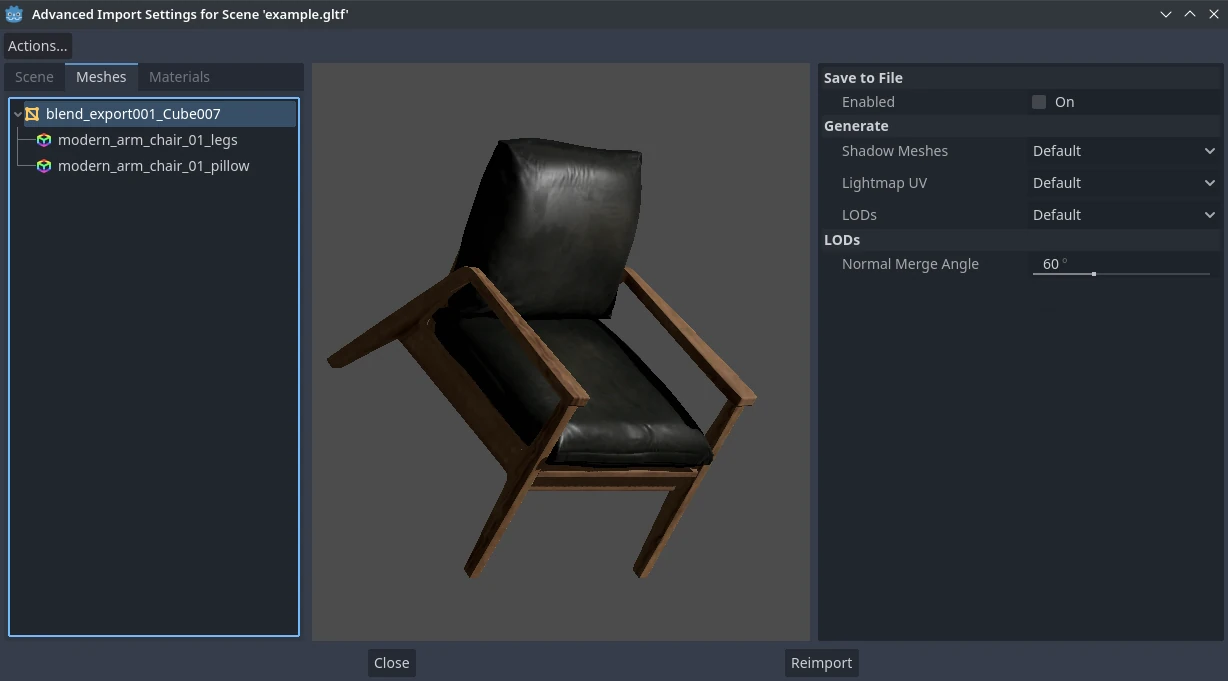
Advanced Import Settings dialog (Meshes tab)
The options are as follows:
Save to File: Saves the Mesh resource to an external file (this isn't a scene file). You generally don't need to use this for placing the mesh in a 3D scene – instead, you should instance the 3D scene directly. However, having direct access to the Mesh resource is useful for specific nodes, such as MeshInstance3D, MultiMeshInstance3D, GPUParticles3D or CPUParticles3D. - You will also need to specify an output file path using the option that appears after enabling Save to File. It's recommended to use the
.resoutput file extension for smaller file sizes and faster loading speeds, as.tresis inefficient for writing large amounts of data.Generate > Shadow Meshes: Per-mesh override for the Meshes > Create Shadow Meshes scene-wide import option described in Using the Import dock. Default will use the scene-wide import option, while Enable or Disable can forcibly enable or disable this behavior on a specific mesh.
Generate > Lightmap UV: Per-mesh override for the Meshes > Light Baking scene-wide import option described in Using the Import dock. Default will use the scene-wide import option, while Enable or Disable can forcibly enable or disable this behavior on a specific mesh. - Setting this to Enable on a scene with the Static light baking mode is equivalent to configuring this mesh to use Static Lightmaps. Setting this to Disable on a scene with the Static Lightmaps light baking mode is equivalent to configuring this mesh to use Static instead.
Generate > LODs: Per-mesh override for the Meshes > Generate LODs scene-wide import option described in Using the Import dock. Default will use the scene-wide import option, while Enable or Disable can forcibly enable or disable this behavior on a specific mesh.
LODs > Normal Merge Angle: The minimum angle difference between two vertices required to preserve a geometry edge in mesh LOD generation. If running into visual issues with LOD generation, decreasing this value may help (at the cost of less efficient LOD generation).
If you select a material, only one option will appear in the panel on the right:
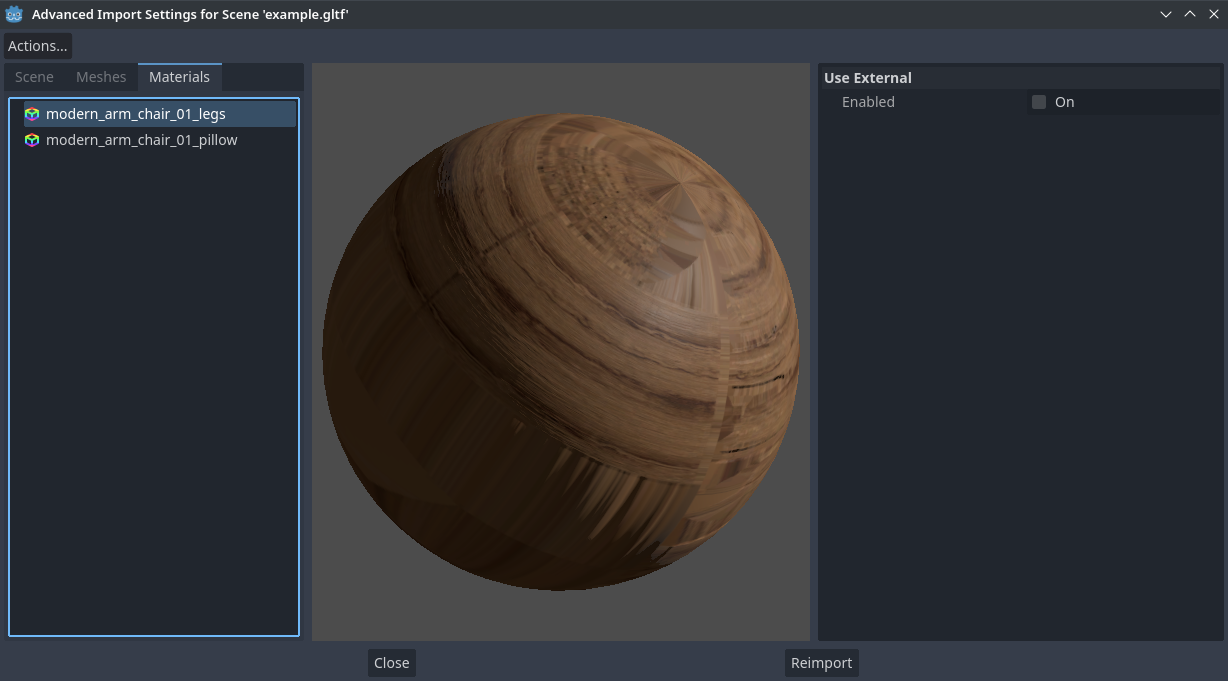
Advanced Import Settings dialog (Materials tab)
When Use External is checked and an output path is specified, this lets you use an external material instead of the material that is included in the original 3D scene file; see the section below.
Extracting materials to separate files
While Godot can import materials authored in 3D modeling software, the default configuration may not be suitable for your needs. For example:
You want to configure material features not supported by your 3D application.
You want to use a different texture filtering mode, as this option is configured in the material since Godot 4.0 (and not in the image).
You want to replace one of the materials with an entirely different material, such as a custom shader.
To be able to modify the 3D scene's materials in the Godot editor, you need to use external material resources.
In the top-left corner of the Advanced Import Settings dialog, choose Actions… > Extract Materials:
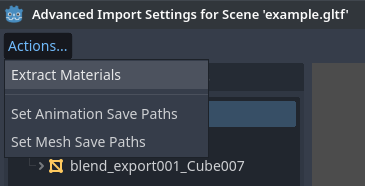
Extracting all built-in materials to external resources in the Advanced Import Settings dialog
After choosing this option, select a folder to extract material .tres files
to, then confirm the extraction:
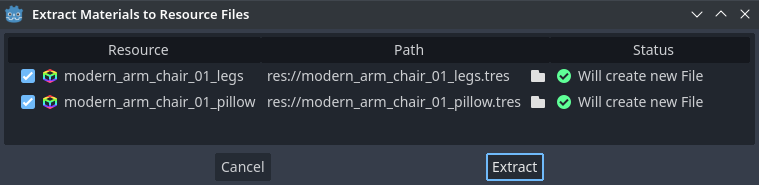
Confirming material extraction in the Advanced Import Settings subdialog
Note
After extracting materials, the 3D scene will automatically be configured to
use external material references. As a result, you don't need to manually
enable Use External on every material to make the external .tres
material effective.
When Use External is enabled, remember that the Advanced Import Settings dialog will keep displaying the mesh's original materials (the ones designed in the 3D modeling software). This means your customizations to the materials won't be visible within this dialog. To preview your modified materials, you need to place the imported 3D scene in another scene using the editor.
Godot will not overwrite changes made to extracted materials when the source 3D scene is reimported. However, if the material name is changed in the source 3D file, the link between the original material and the extracted material will be lost. As a result, you'll need to use the Advanced Import Settings dialog to associate the renamed material to the existing extracted material.
The above can be done in the dialog's Materials tab by selecting the material, enabling Save to File, then specifying the save path using the Path option that appears after enabling Save to File.
Animation options
Several extra options are available for the generated AnimationPlayer nodes, as well as their individual animations when they're selected in the Scene tab.
Optimizer
When animations are imported, an optimizer is run, which reduces the size of the animation considerably. In general, this should always be turned on unless you suspect that an animation might be broken due to it being enabled.
Save to file
By default, animations are saved as built-in. It is possible to save them to a file instead. This allows adding custom tracks to the animations and keeping them after a reimport.
Slices
It is possible to specify multiple animations from a single timeline as slices.
For this to work, the model must have only one animation that is named
default. To create slices, change the slice amount to something greater than
zero. You can then name a slice, specify which frames it starts and stops on, and
choose whether the animation loops or not.