Attention: Here be dragons
This is the latest
(unstable) version of this documentation, which may document features
not available in or compatible with released stable versions of Godot.
Checking the stable version of the documentation...
Player 场景与输入事件
在接下来的两节课程中,我们将会设计玩家场景、注册自定义输入动作、编写玩家移动代码。在最后,你将会得到一个可以八方向移动的可游玩角色。
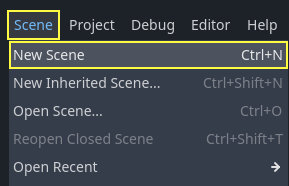
Create a new scene by going to the Scene menu in the top-left and clicking New Scene.
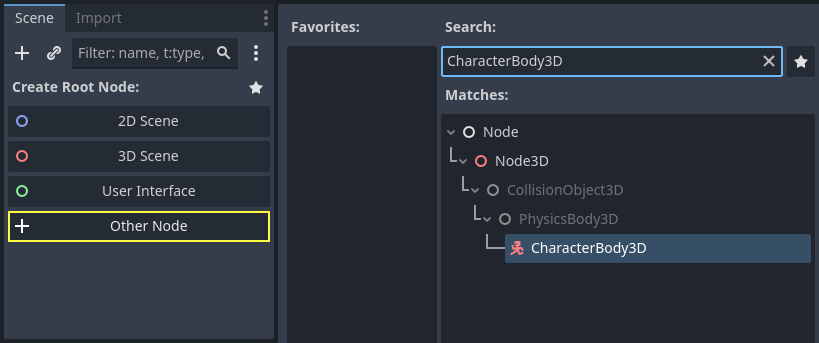
Click the Other Node button and select the CharacterBody3D node type
to create a CharacterBody3D as the root node.
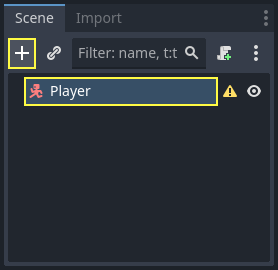
Rename the CharacterBody3D to Player.
Character bodies are complementary to the area and rigid bodies used in the 2D
game tutorial. Like rigid bodies, they can move and collide with the
environment, but instead of being controlled by the physics engine, you dictate
their movement. You will see how we use the node's unique features when we code
the jump and squash mechanics.
参见
要学习更多关于不同物理节点类型的内容,请参阅 物理介绍。
现在,我们将为角色的 3D 模型创建一个基本的装备。稍后我们将在播放动画时通过代码旋转模型。
Add a Node3D node as a child of Player.
Select the Player node in the Scene tree and click the "+" button to add a child node.
Rename it to Pivot.
然后在文件系统面板中,双击展开 art/ 文件夹,将 player.glb 拖放到 Pivot 节点上。
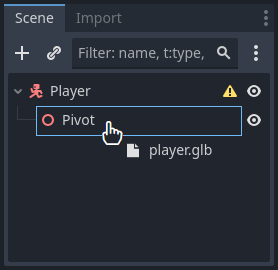
这样应该就会把这个模型实例化为 Pivot 的子项。你可以将其重命名为 Character。

备注
.glb 文件包含基于开源的 GLTF 2.0 规范的 3D 场景数据。它是一种现代的、强大的并替代 FBX 等专有格式的文件,Godot 也支持这种格式。为了制作这些文件,我们在 Blender 3D 中设计了模型,并将其导出为 glTF。
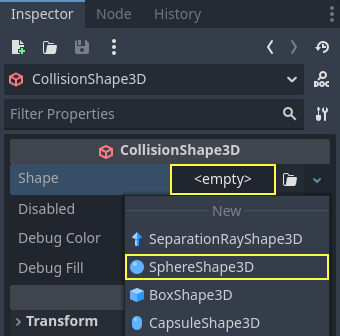
As with all kinds of physics nodes, we need a collision shape for our character
to collide with the environment. Select the Player node again and add a child node
CollisionShape3D. In the Inspector, on the Shape property,
add a new SphereShape3D.
球体的线框出现在角色的下面。
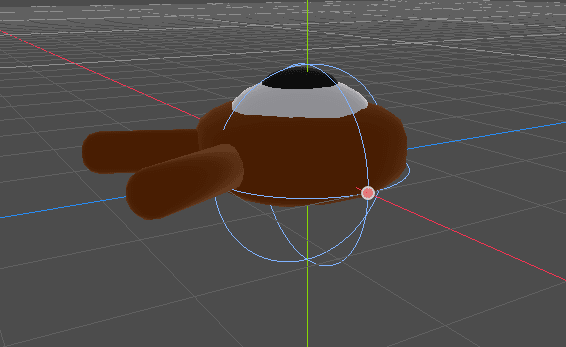
它将是物理引擎用来与环境碰撞的形状,因此我们希望它更适合 3D 模型。拖动视口中的橙色点,将其缩小一点。我的球体半径约为 0.8 米。
然后,向上移动碰撞体,使其底部与网格平面大致对齐。
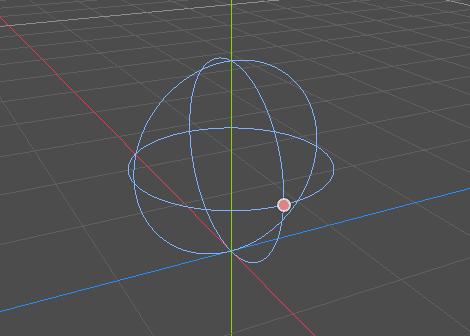
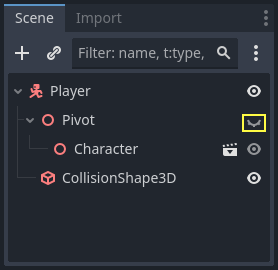
To make moving the shape easier, you can toggle the model's visibility by clicking
the eye icon next to the Character or the Pivot nodes.
Save the scene as player.tscn.
节点准备就绪后,我们开始编写程序。但首先,我们需要定义一些输入动作。
创建输入动作
要移动角色,我们就要监听玩家的输入,比如按下方向键。在 Godot 中,我们能够使用代码来绑定按键,但还有一个非常强大的系统,可以让你为一系列按键和按钮设置标签。这样可以简化我们的脚本,让它们更易读。
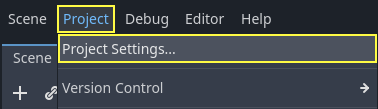
This system is the Input Map. To access its editor, head to the Project menu and select Project Settings....
At the top, there are multiple tabs. Click on Input Map. This window allows you to add new actions at the top; they are your labels. In the bottom part, you can bind keys to these actions.
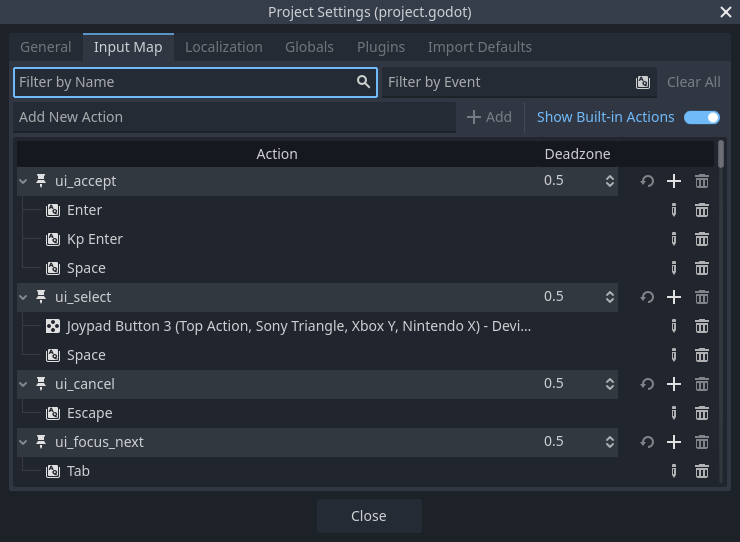
Godot projects come with some predefined actions designed for user interface design (see above screenshot). These will become visible if you enable the Show Built-in Actions toggle. We could use these here, but instead we're defining our own to support gamepads. Leave Show Built-in Actions disabled.
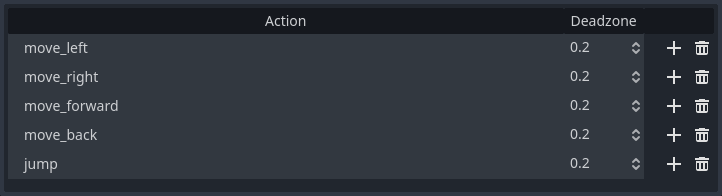
我们要把这些动作命名为 move_left、move_right、move_forward、move_back、jump(向左移动、向右移动、向前移动、向后移动、跳跃)。
To add an action, write its name in the bar at the top and press Enter or click the Add button.

创建以下五个动作:
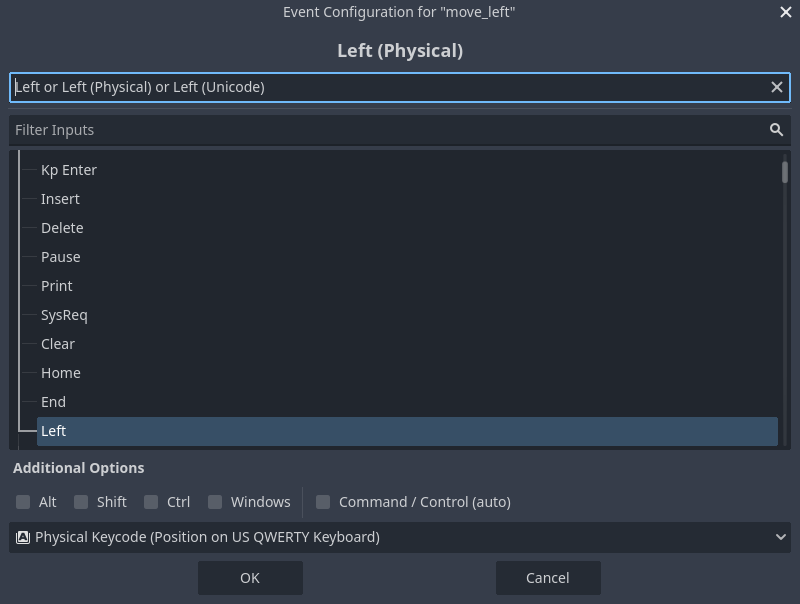
To bind a key or button to an action, click the "+" button to its right. Do this
for move_left. Press the left arrow key and click OK.
将 A 键也绑定在动作 move_left 上面。

Let's now add support for a gamepad's left joystick. Click the "+" button again but this time, select the input within the input tree yourself. Select the negative X axis of the left joystick under Joypad Axes.
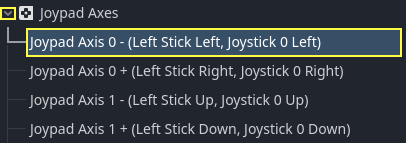
Leave the other values as default and press OK.
备注
如果你想让多个手柄有不同的输入动作,你需要在额外选项中使用设备选项。设备 0 对应的是第一个插入的手柄,设备 1 对应的是第二个插入的手柄,以此类推。
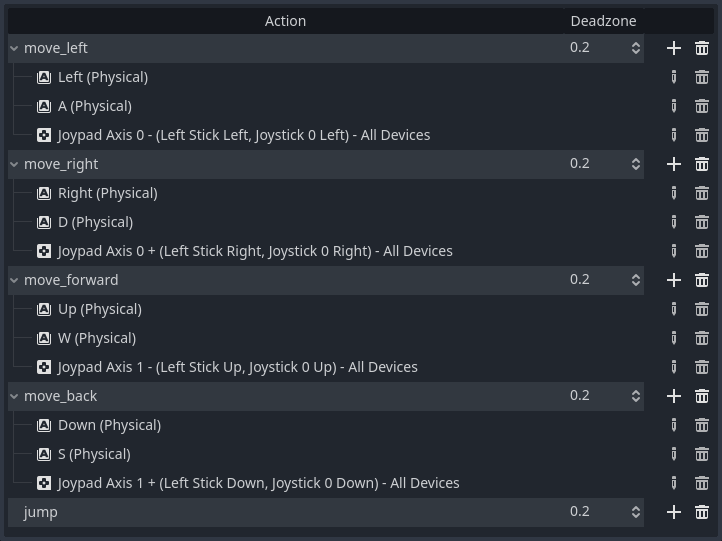
为其他输入动作也执行同样的操作。比如将右方向键、D、左摇杆的正轴绑定给 move_right。全部绑定完后,你的界面应该类似这样。
The final action to set up is the jump action. Bind the Space key and the gamepad's
A button located under Joypad Buttons.
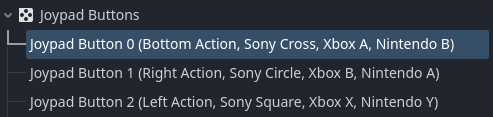
你的跳跃输入动作应该看上去类似这样。

这些就是这个游戏所需的所有动作了。你可以使用这个菜单来对项目中的任意按键和按钮组进行标记。
在下一部分,我们将为玩家的移动进行编程和测试。