Attention: Here be dragons
This is the latest
(unstable) version of this documentation, which may document features
not available in or compatible with released stable versions of Godot.
Checking the stable version of the documentation...
基础 XR 运动
对于基本运动,我们将继续使用 Godot XR 工具库。该库既包含基本运动功能,也包含更高级的功能。
添加玩家的身体
The first step we need to do is to add a helper node to our XROrigin3D node.
Because XR supports roomscale tracking you can't simply add your XR setup to a CharacterBody3D node and expect things to work.
You will run into trouble when the user moves around their physical space and is no longer standing in the center of their room.
Godot XR Tools embeds the needed logic into a helper node called PlayerBody.
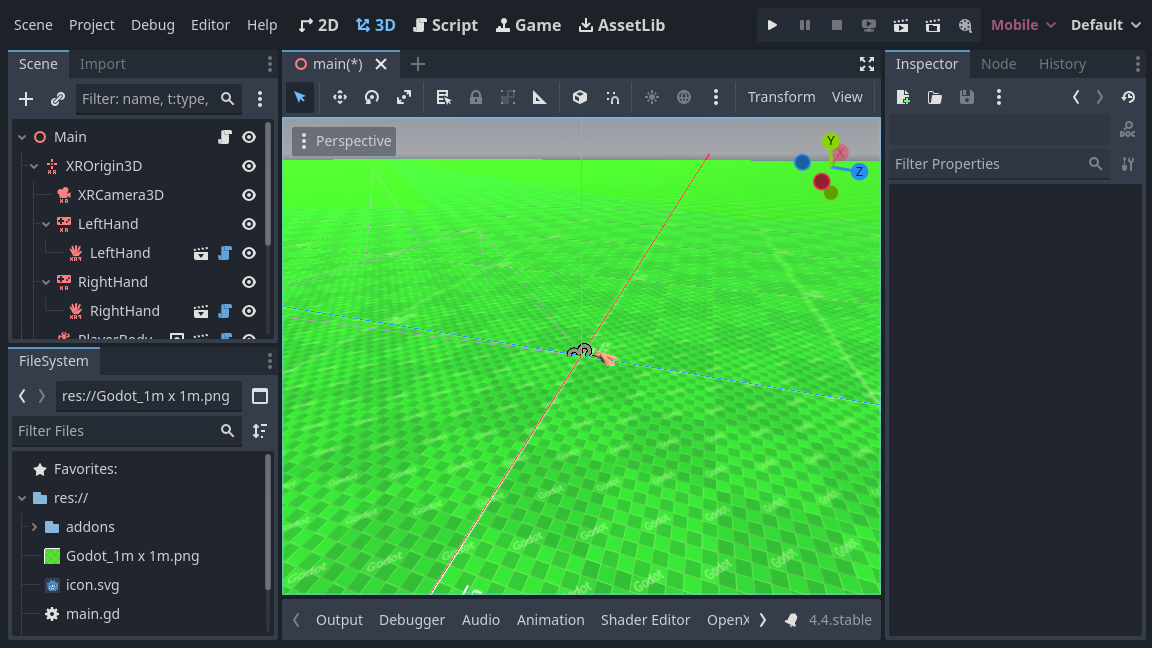
Select your XROrigin3D node and click on the instantiate Child Scene button to add a child scene.
Select addons/godot-xr-tools/player/player_body.tscn and add this node.
添加地板
该节点控制角色在游戏中的移动,并会立即对重力做出反应。因此,为了防止玩家无限下坠,我们将在场景中快速添加一个地板。
We start by adding a StaticBody3D node to our root node and we rename this to Floor.
We add a MeshInstance3D node as a child node for our Floor.
Then create a new PlaneMesh as its mesh.
For now we set the size of the mesh to 100 x 100 meters.
Next we add a CollisionShape3D node as a child node for our Floor.
Then create a BoxShape as our shape.
We set the size of this box shape to 100 x 1 x 100 meters.
We also need to move our collision shape down by 0.5 meters so the top of our box is flush with the floor.
To make it easier to see that we're actually moving around our world, a white floor isn't going to do it. Create a texture using Wahooneys excellent free texture generator. Once you've created the texture add it to your project. Then create a new material for the MeshInstance3D node, add your texture as the albedo, and enable Triplaner under UV1 in the material properties.
直接移动
我们将开始在我们的设置中添加一些基本的直接运动。这允许用户使用摇杆输入在虚拟世界中移动。
备注
应当注意,玩家在虚拟世界移动的同时在现实世界中处于静止状态,这可能导致晕眩,对经验较少的 VR 玩家尤其如此。我们的移动函数的默认设置相对保守。我们建议你遵守这些设置,但同时在游戏中提供为更有经验且习惯于 VR 游戏的玩家提供舒适度更低的设置的功能。
We want to enable this on the right hand controller.
We do this by adding a subscene to the right hand XRController3D node.
Select addons/godot-xr-tools/functions/movement_direct.tscn as the scene to add.
This function adds forward and backwards movement to the player by using the joystick on the right hand controller. It has an option to also add left/right strafe but by default this is disabled.
Instead, we are going to add the ability for the player to also turn with this joystick.
We will add another subscene to our controller node, select addons/godot-xr-tools/functions/movement_turn.tscn for this.
The turn system by default uses a snap turn approach.
This means that turning happens in steps.
This may seem jarring however it is a tried and tested method of combating motion sickness.
You can easily switch to a mode that offers smooth turning by changing the mode property on the turn node.
如果你在这个时间点运行你的游戏,你会发现你可以使用右手摇杆在世界中自由移动。
传送
An alternative to direct movement that some users find more pleasant is the ability to teleport to another location within your game world. Godot XR Tools supports this through the teleport function and we will be adding this to our left hand controller.
Add a new child scene to your left hand XRController3D node by selecting the addons/godot-xr-tools/functions/function_teleport.tscn scene.
With this scene added the player will be able to teleport around the world by pressing the trigger on the left hand controller, pointing where they want to go, and then releasing the trigger. The player can also adjust the orientation by using the left hand controller's joystick.
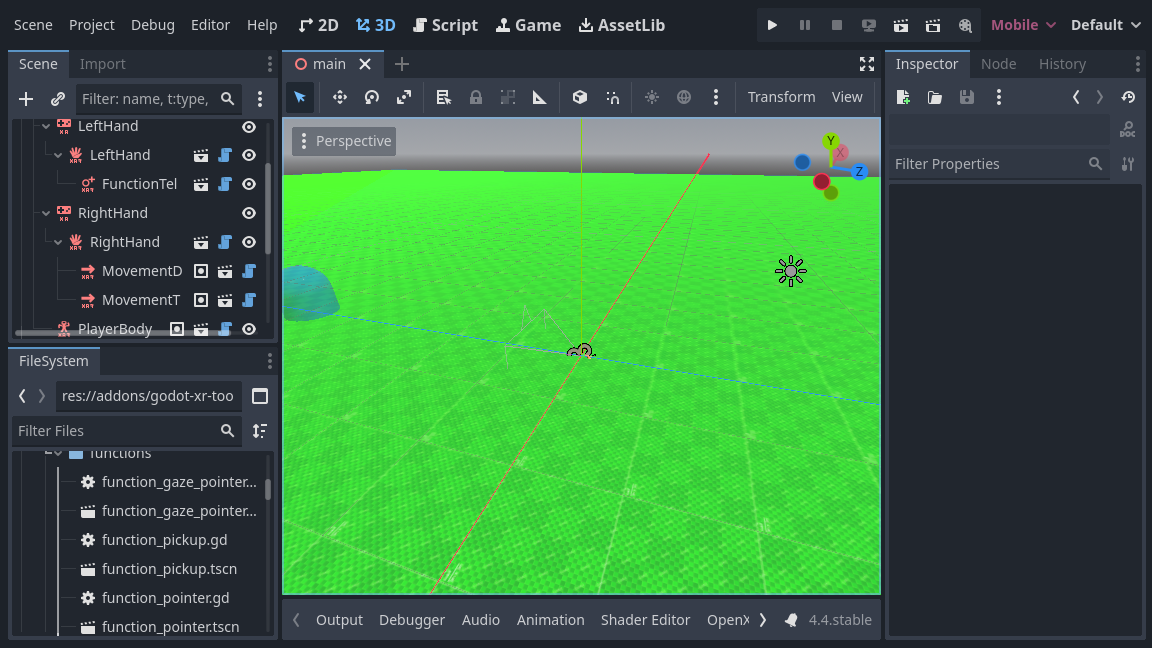
If you've followed all instructions correctly your scene should now look something like this:
更多高级移动功能
Godot XR 工具增加了更多的运动功能,如滑翔,抓钩,喷气背包,攀爬机制等。
其中大部分与之前我们处理的基本移动功能类似,简单地将插件中相关的子场景添加到负责实现的控制器中即可。
稍后我们会深入探究其中一些需要额外设置的功能(例如攀爬),但剩余部分请参考 Godot XR 工具部分的帮助页面。